Moonlighter Can You Fisht Bosses Again
All of Moonlighter's half dozen dungeons conclude with a challenging boss fight, with each of the six bosses presenting a unique fight based on the dungeon itself. They're a step up from the standard enemies yous'll encounter, and require good strategy in order to defeat them.They're all a tough fight and become fifty-fifty harder the further into Moonlighter you go. They'll give you some great rewards though, which can be used to meliorate armour and weapons, or fifty-fifty sold in your shop. Here are all the bosses in Moonlighter, ranked by difficulty, every bit well as some tips for defeating them.
6 Golem King

The Golem Male monarch is Moonlighter's kickoff boss, and you lot'll encounter him at the end of the Golem Dungeon on the third floor. Yous'll definitely demand to bring a weapon build you're comfortable with, too as some tier ane HP potions to defeat him. His stone mitt attack causes stones to fall from the dungeon'south roof, they'll damage you if they hit you, but once they're on the floor they're harmless. On the other mitt, the Jelly i sweeps across the floor of the dungeon and can be unsafe if you're non comfy dodging yet.
His strongest assault is the smash attack, which sees his stone hand fly into the air, before coming back down the footing and smashing into Will, sentry out for the looming shadow and contrivance at the concluding second to avoid this attack. Weapon wise, the gloves are pretty constructive in this fight, mainly because they can deal lots of damage very apace in between the Golem Rex's attacks.
5 Carnivorous Mutae

The Carnivorous Mutae is found on the fourth floor of the Forest Dungeon and is a significant pace up from the Golem King. Y'all'll need at least tier two weapons for this fight, and bringing some tier 2 HP Potions volition assist a lot. The spore attack can be particularly abrasive, spraying spore-spitting plants around the room - you'll need to quickly have them out to foreclose an overwhelming of spores from beingness launched your way. The root spikes are a strong attack besides, they follow your movement for a few seconds but as long every bit you can keep moving they'll quickly dissipate.
The strongest set on that the Carnivorous Mutae has is its crush attack, which sees the Mutae launch into the sky and attempts to crush the player under its weight. Will tin can also be poisoned if he gets hit by the Mutae's vines. A bow is a smashing tool in this fight, mainly considering nigh of the Mutae's attacks are short-range meaning y'all tin deal heavy impairment from a altitude without being too vulnerable. The Large Sword is a skillful secondary weapon, dealing large volumes of impairment to the found whilst information technology is recharging.
4 Naja

The Naja can be found on the fourth floor of the Desert Dungeon and can deal a lot of damage to Volition if you're not careful. You lot'll definitely need to be bringing tier 3 weapons, armour and HP potions to this fight if you lot want to emerge from it alive. Each body part has a unique attack, with the attacks following a sequential design from front to back.
- The circle-marked body function shoots fire rings at you, two at a time, requiring a ringlet to avoid them.
- The rhombus-marked part also shoots fire, but these are in a rotating blueprint and are incredibly hard to avert.
- The square-marked section launches fire sprites at you, and they'll follow you lot around the room.
- The last office fires lava assurance at yous which turn into pools of lava on the flooring and need to be avoided at all costs.
Occasionally, Naja will terminate moving and all remaining body parts volition detach and launch themselves at the dungeon walls, bouncing around the room before reattaching themselves to the master trunk. All of its attacks needed to be avoided using dodges and good positioning, with small windows for attack emerging in between assail waves. Bows are great to use in this fight considering Naja is commonly moving and then hard to strike with melee weapons.
three Free energy Flux

The Energy Flux is found on the fourth floor of the Tech Dungeon, and is a very unique fight, with the boss e'er being located on one of eight screws institute surrounding the loonshit. Y'all'll need tier 4 weapons, armour and HP Potions to beat out this tough dominate. The electricity set on covers the bulk of the arena in electricity, which deals damage if y'all stand on it, and is sometimes almost unavoidable. It also has a lightning bolt attack which fires lightning bolts at Will that either rotate or sweep over the whole arena. Every assault causes the Flux to change location, dealing harm to Will if he'southward caught during this motility phase.
This boss fight is very defence force focused, you lot'll be looking to primarily play defensively, dodging attacks and the Flux's movement, whilst using small windows of opportunity to deal harm to it. Weapons such equally the Bow are a great option for dealing ranged damage, simply bringing along your favourite melee weapon is a nifty idea too, mainly for the rare occasion you can become shut to deal some like shooting fish in a barrel damage to it.
2 Concluding Dimensional Pirate

Moonlighter's final boss, the Last Dimensional Pirate is definitely its toughest, with 2 distinct phases pushing you to the very limits of your power. In phase one, most of the attacks revolve around the pirate's sword:
- The first is a iii-combo swing and is very like shooting fish in a barrel to avoid.
- The second attack is a charge set on that is also like shooting fish in a barrel to dodge abroad from but can deal a lot of damage if you don't see him telegraph it.
- The final set on in phase one sees the pirate detach his legs from his body, with his torso flying around the room whilst his legs fire projectiles at you. During this attack, information technology's easier to avoid his attacks instead of trying to deal whatever impairment.
In stage two, the pirate transforms into a behemothic blob and swings his large tentacle arms at Will. They're quite hard to avoid, just standing at the edge of the room should continue Volition out of harm'south way. Some other attack sees the pirate spawn tentacles near to Will from the flooring which can bargain huge damage if not avoided. His final assault involves light waves which, if y'all don't roll over, will hit you with a big chunk of harm. Use the light on his stomach to judge your rolls right. The bow is a great weapon pick in the fight'due south first phase, with melee weapons becoming more than useful in the 2nd phase as the fight arena becomes smaller.
1 Enraged Wanderer
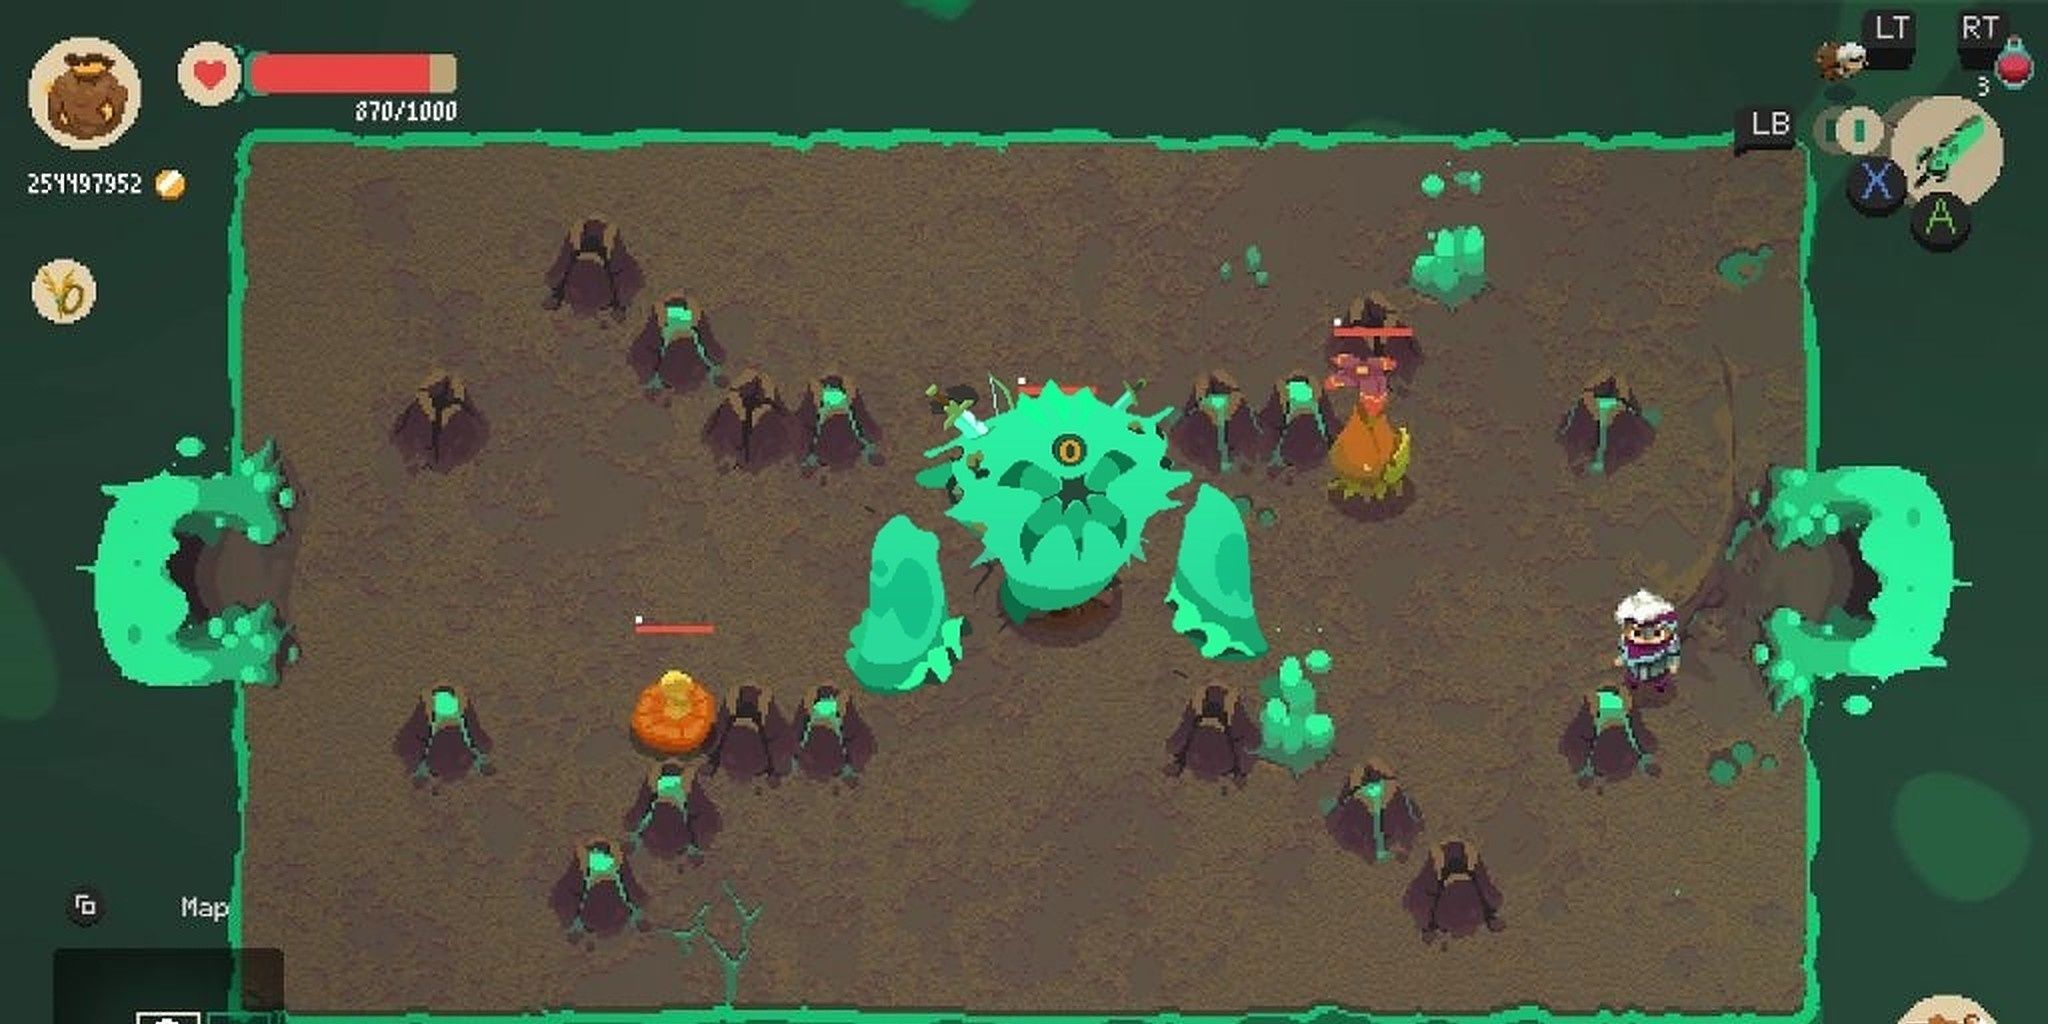
The Enranged Wanderer is the final boss of the Betwixt Dimensions DLC and is a tricky boss that is based on the Wanderer enemy seen in the base game. Most of the Enraged Wanderer's attacks are slime based, with an attack in his second phase involving information technology filling the floor with slime and so emerging in random locations before firing a beam of slime at Will. It also has an assault that chucks slimes out onto the dungeon floor - they'll damage if y'all hitting them only their biggest threat is their power to close off sections of the loonshit.
It also has a tentacle attack where tentacles sally from the ceiling and will strike Will if he gets too close to them. Between attacks the Enraged Wanderer will get stuck in the ground, giving you a not bad opportunity to deal some heavy risk-gratuitous damage. This fight is best fought with mobility and intelligent positioning, making apply of the brief pauses to take the Enraged Wanderer down without losing also much HP yourself.
About The Author

Source: https://www.thegamer.com/moonlighter-every-boss-hardest-ranked/
0 Response to "Moonlighter Can You Fisht Bosses Again"
Post a Comment